Shell-On Brine Shrimp Eggs for Hatching
Product Overview
Product name:
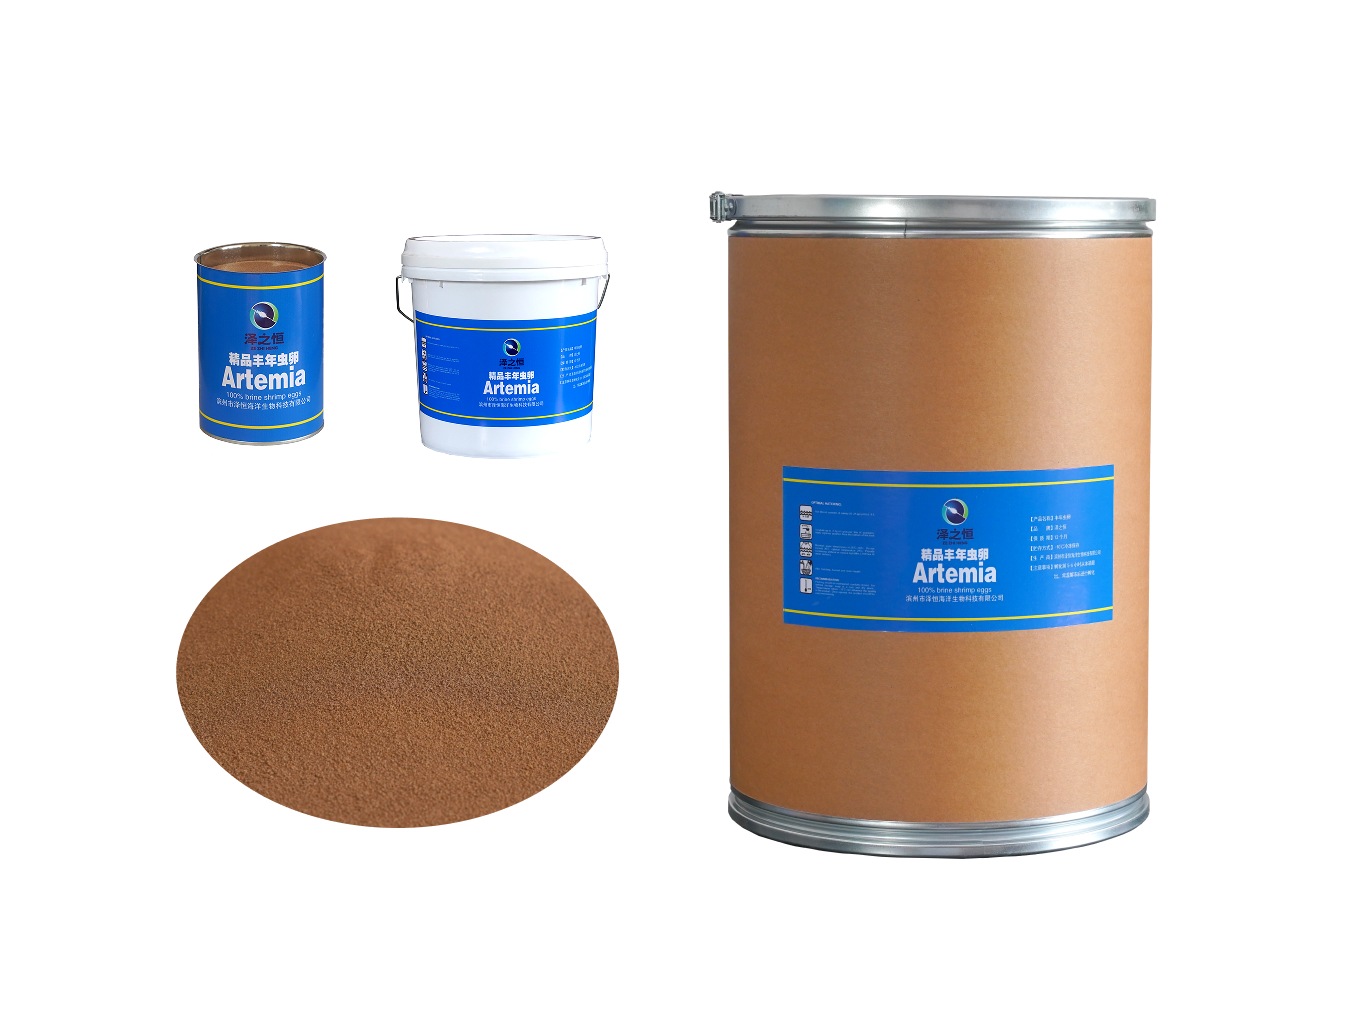
Shell-On Brine Shrimp Eggs for Hatching (Hatchable Artemia Cysts)
Product type:
Dried Artemia cysts (shell-on, hatchable)
Main applications:
Producing live nauplii (newly hatched Artemia) as a high-quality first feed and early nursery feed for fish, shrimp, crab and other aquatic larvae.
Target customers:
Marine & freshwater hatcheries (fish, shrimp, crab)
Industrial RAS hatchery systems
Aquatic feed manufacturers & premix producers
Ornamental fish farms, wholesalers & aquarium channels
Universities, research institutes & laboratories
Key Technical Specifications
(Typical values – exact data subject to the batch quality report.)
Hatching rate: ≥ 85%/≥ 90% (24–36 h under standard conditions)
Nauplii per gram (NPG): ≥ 250,000 nauplii / g
Moisture: ≤ 8%
Impurities (shell fragments, sand, salt crystals, etc.): ≤ 0.1%
Recommended hatching salinity: 20±5‰
Recommended hatching temperature: 24°C+1/28°C+1/31°C+1
Recommended loading density: 2 g eggs / L of hatching water
Recommended pH range: 7.5–8.5
Shelf life: 2 years under recommended storage conditions
Product Description
Shell-on brine shrimp eggs (Artemia cysts) are one of the most widely used live feeds in global aquaculture. The cyst has a protective shell that allows the embryo to remain dormant for long periods under dry and high-salinity conditions. When exposed to suitable salinity, temperature and dissolved oxygen, the eggs hatch within 24–36 hours into highly nutritious nauplii.
This Shell-On Brine Shrimp Eggs for Hatching is developed for professional hatcheries, farms and feed mills, with the following features:
Uniform size and stable particle characteristics – allows accurate dosing by weight and is suitable for automated or standardized operations.
High hatching rate and high NPG – delivers dense, vigorous nauplii to support high-quality stocking and uniform larval growth.
Low moisture and good stability – optimized drying and packaging ensure long-term storage with minimal loss of hatchability.
Batch testing and traceability – each batch is hatch-tested under standard conditions and recorded, supporting your internal quality management and audits.
Advantages of Shell-On Eggs
1. Flexible inventory management
Shell-on eggs can be stored for long periods under dry, cool conditions. This is ideal for hatcheries and distributors that need safety stock for the full production season.
2. Competitive overall cost
Compared with decapsulated eggs, shell-on eggs do not require chemical decapsulation. At comparable hatching rates, the cost per unit of usable nauplii is highly competitive for daily, large-volume use.
3. Simple equipment requirements
Standard hatching cones or tanks, air pumps and ordinary lighting are sufficient. No special chemical treatment equipment is required, making it easy to integrate into existing hatchery facilities.
4. Broad applicability
With proper shell separation, shell-on eggs meet the requirements of most fish, shrimp and crab hatcheries, as well as ornamental fish production, for routine first-feeding live feed.
How to Choose Hatching Rate and Temperature?
Our shell-on brine shrimp eggs are sourced from premium salt lakes in China, Kazakhstan, Uzbekistan, and Russia.
Because the natural conditions of each lake are different, we offer:
2 hatching rate grades: ≥85% and ≥90%
3 temperature ranges: 24 °C ±1, 28 °C ±1, and 31 °C ±1
In total, this gives you 6 practical combinations to match different farming conditions and goals.
1. First choose your hatching rate: ≥85% or ≥90%?
≥85% – General-purpose, cost-effective
Best for:
Aquarium shops and hobbyists
Small and medium farms
Users who care about cost per kilogram more than maximum output per batch
Features:
Stable hatching rate at ≥85%, with sufficient nauplii for most daily feeding needs
More economical and budget-friendly
Ideal for daily use with large consumption but limited budget
Example scenarios:
Routine feeding of marine and freshwater fish fry or shrimp fry
Regular stock for aquarium stores or small hatcheries
2. Then choose your temperature: 24 °C, 28 °C, or 31 °C?
The temperature ranges 24 °C ±1, 28 °C ±1, and 31 °C ±1 are based on the performance of eggs from different origins under practical hatching conditions.
You can select according to your water temperature, equipment, and desired hatching speed.
24 °C ±1 – Ambient-friendly (cooler systems)
Best for:
Temperate regions or rooms where water stays around 23–25 °C
Users who do not plan to invest much in heating
Situations where energy saving and stability are more important than speed
Features:
Works well at or near room temperature
Slightly longer hatching time but very easy to manage
Ideal for small to medium-scale operations and routine use
👉 If your hatching tanks usually stay at 23–25 °C without heating, choose a 24 °C ±1 product.
28 °C ±1 – Standard, all-round choice
Best for:
Farms or fish rooms with basic heating or temperature control
Users looking for a balance between hatching speed and energy consumption
Most tropical and subtropical fish/shrimp hatcheries
Features:
Widely used “standard hatching temperature”
Good balance of hatching speed and nauplii quality
Suitable for most fish, shrimp, crab, and shellfish larvae
👉 If you can keep your water around 27–29 °C with a heater or thermostat, choose a 28 °C ±1 product.
31 °C ±1 – High-temperature, fast-hatch option
Best for:
Industrial or intensive hatcheries with reliable temperature control
Systems that need rapid, high-density hatching for quick turnover
Experienced managers with strong water quality and aeration control
Features:
Faster hatching at higher temperature
Supports frequent feeding cycles and quick system turnover
Requires better control of oxygen, water quality, and equipment
👉 If your system routinely runs at 30–32 °C and you are comfortable managing high-temperature hatching, choose a 31 °C ±1 product.
3. How to choose among the 6 combinations?
We combine 2 hatching rate grades × 3 temperature ranges into 6 product options. You can decide in two simple steps:
Step 1 – Start from your actual water temperature
If your system is usually around 24 °C → choose 24 °C ±1
Around 28 °C → choose 28 °C ±1
Around 31 °C → choose 31 °C ±1
Step 2 – Then choose your hatching rate
Daily use, general budget:
≥85% / 24 °C ±1 or ≥85% / 28 °C ±1
Professional hatcheries:
≥90% / 28 °C ±1 or ≥90% / 31 °C ±1
High energy cost, simple equipment:
Prefer 24 °C ±1, then choose ≥85% or ≥90% depending on your budget and target output
Easy rule of thumb:
Match the temperature to the water you can maintain,
and match the hatching rate to how professional and intensive your production is.
4. Practical tips
Different lake origins naturally show slightly different performance. We classify them into the corresponding hatching rate grades and recommended temperature ranges to make your choice simple and reliable.
When trying a new specification, we recommend a small trial batch first, then fine-tune salinity, aeration, and light according to your own system.
If you share your main species, tank size, and typical water temperature, we can further suggest 1–2 ideal combinations tailored to your setup.
Recommended Hatching Conditions & SOP
1. Recommended hatching conditions
Reference the “Hatching Conditions for Brine Shrimp Eggs” section on the Brine Shrimp Eggs page.
2. Standard hatching procedure (SOP)
Prepare hatching water
Use dechlorinated freshwater and sea salt or filtered seawater.
Adjust salinity to 25–35‰.
Adjust water temperature
Start the heating system and stabilize the temperature at 25–28°C.
Add eggs
Dose 1–3 g of eggs per liter of hatching water.
For new users, run a small test first to confirm actual nauplii output.
Continuous aeration and light
Supply air from the bottom of the cone/tank with fine bubbles so that the eggs are fully suspended.
Keep the light on throughout the hatching process.
Hatching period
Large numbers of nauplii usually appear after 18–24 hours.
Most eggs will have hatched within 24–36 hours depending on temperature and egg freshness.
Shell separation and nauplii collection
Stop aeration and let the tank stand for 10–15 minutes.
Empty shells float to the top, unhatched eggs sink to the bottom and active nauplii concentrate in the middle, near the light source.
Draw water slowly from the middle (towards the lighted side) using a hose or bottom valve and pass it through a 100–200 μm screen to collect nauplii.
Rinse the nauplii gently with clean low-salinity water and feed immediately or proceed according to your farm’s standard procedure.
3. Common issues & troubleshooting
Low hatching rate
Check for moisture damage or eggs beyond the recommended shelf life.
Confirm that temperature and salinity are within the recommended ranges and stable.
Reduce loading density and ensure aeration is sufficient.
Difficult shell separation
Increase the settling time slightly and adjust the light to one side of the cone.
Add an extra fine-mesh filtration step for sensitive species.
Extended or uneven hatching time
Usually related to low temperature or older eggs. Correct by raising temperature within the recommended range and using fresher stock.
Poor nauplii vitality
Avoid leaving nauplii for long periods without aeration.
Control loading density and collect in several batches if necessary.
Typical Applications
Shrimp and marine crustacean hatcheries
First-feeding and transition live feed, used together with algae and rotifers to improve survival and size uniformity.
Marine and freshwater fish hatcheries
First-feeding live feed for many marine species and some freshwater species after yolk sac absorption, providing highly digestible protein and essential fatty acids.
Ornamental fish farms & wholesalers
Daily growth and coloration feed for guppies, tetras, cichlids and other ornamental species.
Research, teaching & ecotoxicology
Artemia nauplii are widely used as test organisms for toxicity screening, research projects and teaching experiments.
Frequently Asked Questions (FAQ)
Q1. Do the shells pose a risk to larvae?
With proper hatching and separation, most shells either float or sink and can be removed by settling and filtration. For very small or particularly delicate larvae, we recommend adding an extra fine-mesh filtration step to further reduce shell residues.
Q2. How can I maximize hatching rate?
Keep salinity and temperature within the recommended range, ensure eggs are dry and within shelf life, control loading density and provide continuous aeration and light. Follow the SOP above and adjust based on small-scale tests before full-scale production.
Q3. Can these eggs be fed directly without hatching?
No. This product is designed as hatchable shell-on eggs and should be hatched into live nauplii before feeding. Direct dry feeding leads to very low utilization and is not recommended.